
DIY – How To Make A Milking Table. Read This Before You Start Drilling
So you’re wondering how to make a milking table? You’ve seen a couple of Reddit posts. Maybe a grainy video. Perhaps a blog from 2014 with a 2×4, some plywood, and a power drill.
If you’re not sure what a milking table is, check this out first.
Milking tables have become a niche piece of furniture that you won’t find at IKEA, but that doesn’t mean you can’t make one yourself. The most affordable and convenient way to begin is with a portable massage table, which can be found on Amazon for around $100–$200. With some modifications, you can cut an access hole in the table at the right position and create a DIY version at home.
But there are tradeoffs: keeping the padding intact, dealing with support cables, and making sure there’s enough clearance for the person underneath. Below, we’ll walk you through the process step by step with some photos from our workshop, and then compare it to ready-made professional options.

Step 1: Choosing the Right Base Massage Table

Most DIY builds start with a portable massage table. If you search “massage table” on Amazon, you’ll see dozens of options averaging around $160
Get a strong table with Good Reviews
$80–$120
The sweet spot is $150–$180
4
Always filter for at least 4★ average reviews
50+
50+ total ratings.
Deck (Top) Material
Go for Wood, Not Aluminum
A wooden deck is the only realistic option. Ideally, MDF (medium-density fiberboard). MDF is easy to drill, doesn’t splinter like plywood, and takes upholstery staples well when you re-stretch the cover.
Avoid aluminum deck cores (sometimes marketed as “lightweight” or “aerospace panels”). They’re harder to cut, create sharp burrs, and usually cost much more.
Look for a deck thickness around ½”–¾”. Too thin, and the area around the cutout will flex. Too thick, and it becomes harder to cut. (This might not always be mentioned on the product page, but to be honest, most tables at the mentioned price range have a good thickness of board.
Choose between a clear underside or one with cables
- Best case: A frame with no diagonal cables underneath. This leaves the underside wide open, which makes entry and positioning easier.
- Reality check: Most affordable massage tables do have support cables. They’re what keep the frame stable at a low price point.
- Tradeoff: If a table doesn’t have cables, it usually also doesn’t offer adjustable height. These fixed-height models are less versatile.
- Bottom line: Decide which matters more for you:
- No cables = easier entry, but usually fixed height.
- With cables = adjustable height and portability, but less clearance underneath.
Height
Adjustable Height (Clearance Matters)
Clearance under the table is critical. You don’t want the person underneath squeezed into a 20-inch gap.
Standard massage tables adjust between 24″–34″. For most builds, you’ll want to set it on the higher end — 30″–34″ — to give enough room underneath.
Make sure the legs have locking knobs or push pins to keep them secure at higher settings.
Professional milking tables go upwards of 38″ (but are less affordable)
Width
Width & Size
Many cheap massage tables are only 27″ wide. That’s fine for massage, but for this use, they can feel cramped and less stable.
If you or your partner is on the heavier side, look for an extra-wide massage table — 30″–32″ wide. These cost a bit more but feel sturdier and provide more comfort.
Length should be at least 70–72″, so you don’t run into hinge points or face-cradle brackets when cutting.
Deck (Top) Material
Padding & Upholstery
Foam should be at least 2″ thick, high-density. Thinner foam feels harsh once modified and will wear out quickly.
The cover should be PU leather (faux leather) with double stitching. It’s flexible, easy to re-stretch, and much better for reupholstery than stiff PVC.
Look for tables with a smooth wooden underside lip as you’ll need that to staple the upholstery back neatly after cutting.
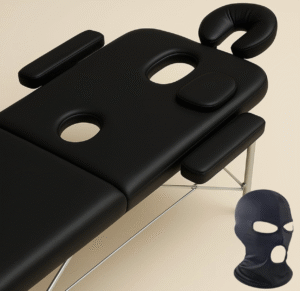
Check that nothing interferes with your future glory hole
You’ll later cut the hole near the start of the second panel (near the middle of the table.. Make sure the main hinge, bolts, or brackets aren’t located in the area where you’ll be cutting.
Don’t get this wrong!
Quick Checklist
(Pass/Fail in 30 Seconds)
- Price: $120–$160 with 4★+ reviews
- Deck: MDF wood, ~½”–¾” thick
- Frame: with or without cables (choose your compromise)
- Adjustable height to at least 32–34″
- Width: 30″–32″ preferred, avoid 27″ unless necessary
- Foam: 2″ thick minimum, PU cover
- Hinges/bolts/ nothin interfering with where the hole will be
If a table fails more than one of these, skip it as you’ll fight with the build or end up with something unstable.
Step 2:
Mark & Cut the Opening
Once you’ve got your massage table, it’s time to create the access opening. Turn the massage table on it’s head on the flood.
Mark the position
Measure about 4 inches above the fold at the head/face end. Place a dot with a marker on the wood.
Trace a 12–14 inch circle (or rectangle). Make sure the edge of the cirlcle is where you paced the dot.
A 12-inch circle works for smaller builds, but 14 circle is safer for most.
Cut the Opening
Now that you’ve marked your cutout, it’s time to make the opening. You can do this in two main ways: with a jigsaw(most flexible) or a round hole saw attachment (cleaner, but less versatile).
Make sure to cut only the wood. Do not cut through the PU leather on the same line, as you’ll need extra material to properly close and finish the upholstery after making the cut.
Option 1: Rectangular cutout
Cutting with a Jigsaw (best for rectangles or custom sizes)
Drill a ½ inch starter hole just inside the line you traced.
This hole is where you’ll insert the jigsaw blade.
Make sure to drill straight down through the wooden board of the massage table.
Insert the jigsaw blade into the starter hole.
Slowly follow the line of your circle or rectangle.
For a rectangle, cut straight lines and then gently round the corners to avoid stress cracks later.
Don’t force the blade and let it cut at its own pace to keep edges clean.
Once the cutout drops out, sand the inside edge with 120-grit sandpaper until smooth.

Option 2: round cutout
Cutting with a Round Hole Saw (fastest for circles only)
Once the cut is complete, sand the inside edge smooth with 120-grit paper.
Use a 12–14 inch hole saw attachment on a power drill (these are large, so make sure your drill can handle it).
Clamp the massage table securely before drilling as large hole saws generate torque.
Place the pilot bit of the hole saw on your marked center point and apply steady, even pressure.
Keep the drill perfectly vertical as any angle will bind the blade.
Stop occasionally to clear sawdust, which helps prevent burning the wood.

Which method should you use?
- If you’re going for a simple circular hole, a round hole saw is the cleanest and fastest option.
- If you want a rectangular cutout (like our factory model for multi-user setups), you’ll need a jigsaw. Rectangular cutouts facilitates users with different heights.
Step 3 (ROUND HOLE)
Close up the leather
After cutting, close up the upholstery.
Option 1
Staples upholstery
Trim back the foam around the cutout so it’s flush with the wood edge.
Pull the vinyl cover tightly inside the hole and staple it underneath with a heavy-duty staple gun.
Smooth down any sharp edges before stapling, or the cover may tear over time.
Pros: Cheapest, fastest, no extra parts needed.

Option 2
Plastic or PVC Edge Trim (Factory-Style Upgrade)
For a more professional finish, screw a custom-cut plastic ring onto the underside (see photo) AFTER using the staple method.
Buy a length of PVC pipe or U-channel trim that matches the opening the glory hole.
Press-fit or glue the trim into the opening. If you use screws, make sure they are not longer than the thickness of the board, for obvious reasons.

Option 3
Wooden/MDF Reinforcement Ring (Maximum Strength)
Cut a second ring or rectangle out of ½ inch MDF or plywood, slightly larger than your hole.
Place it underneath the cutout and screw it into the table deck.
Wrap upholstery or trim over both layers for extra rigidit
Pros: Extremely sturdy, load-bearing, long-lasting.
This is a great option but hard to get right.
Step 3 (SQUARE HOLE)
Finish the Upholstery
With the square hole, it’s a bit different.
Option 1
Upholstery Wrap (DIY Finish)
Trim off any excess material so it doesn’t bunch up underneath.
Pull the vinyl or PU leather cover tightly into the cutout.
Secure it underneath with a staple gun, working your way evenly around the edge.
This option is cheap and works fine, but the underside won’t look polished. It’s usually what you see in first-time DIY builds.

Option 2
Plastic or PVC Edge Trim (Factory-Style Upgrade)
Instead of folding the upholstery in, add a plastic or PVC edge ring around the hole.
Screw or snap it into place to cover the raw edge of the wood.
The trim holds the cover in place neatly, preventing wear and tear over time.

Step 5
Add Privacy With a Curtain Skirt
At this point, you’ve got a functional milking table, but if you want it to feel private and professional, adding a curtain skirt makes a huge difference. It creates a fully enclosed space underneath while keeping the look discreet.
How to do it (DIY method):
- Choose your fabric: Buy a simple black curtain panel or fabric. Polyester or blackout cloth works best.
- Measure and cut: Measure the perimeter of your massage table frame and cut the fabric to size, leaving 1–2 inches extra at the top for attachment.
- Prepare the frame: Apply self-adhesive Velcro strips around the metal frame. Clean the surface with alcohol wipes beforehand to ensure proper adhesion.
- Attach Velcro to fabric: Sew or glue the matching Velcro strips to the top edge of the curtain.
- Install the curtain: Attach the curtain around the table, leaving a discreet opening at the back for entry.
Why this works:
- Easy to remove: the curtain strips off when you fold the table for storage.
- Adds a sense of discretion and comfort for the person underneath.
- Hides support cables or braces that would otherwise be visible.

Problems
The Real Problems With DIY Milking Tables
Bad Hole Placement
There’s a reason we spent weeks testing spacing and alignment. If the hole is off by even a few inches, the whole experience gets awkward fast. Most DIY builds guess the placement, which leads to bad angles, poor access, or worst of all — it just doesn’t feel good.
Unstable Legs = Dangerous Setup
We’ve seen DIY builds collapse mid-session. Seriously. Cheap folding legs, uneven cuts, or reused table parts make for wobbly, unpredictable furniture. And when someone’s under there, stability is non-negotiable.
Low Clearance = Cramped & Cranky
Most standard tables (even massage tables) are only 24–27 inches tall. That’s fine for a back rub. Not fine if you’re lying under it for 20+ minutes. Neck cramps and lumbago are real — and not sexy.
It Adds Up Fast
Think DIY is cheaper? Here’s a rough reality check:
Massage table: $120-150
Tools (jigsaw, drill, bits): $80–$150
Upholstery materials: $50–$100
Time: 6+ hours of work and testing
You’re already approaching $400
— and that’s for something that may not even work well.
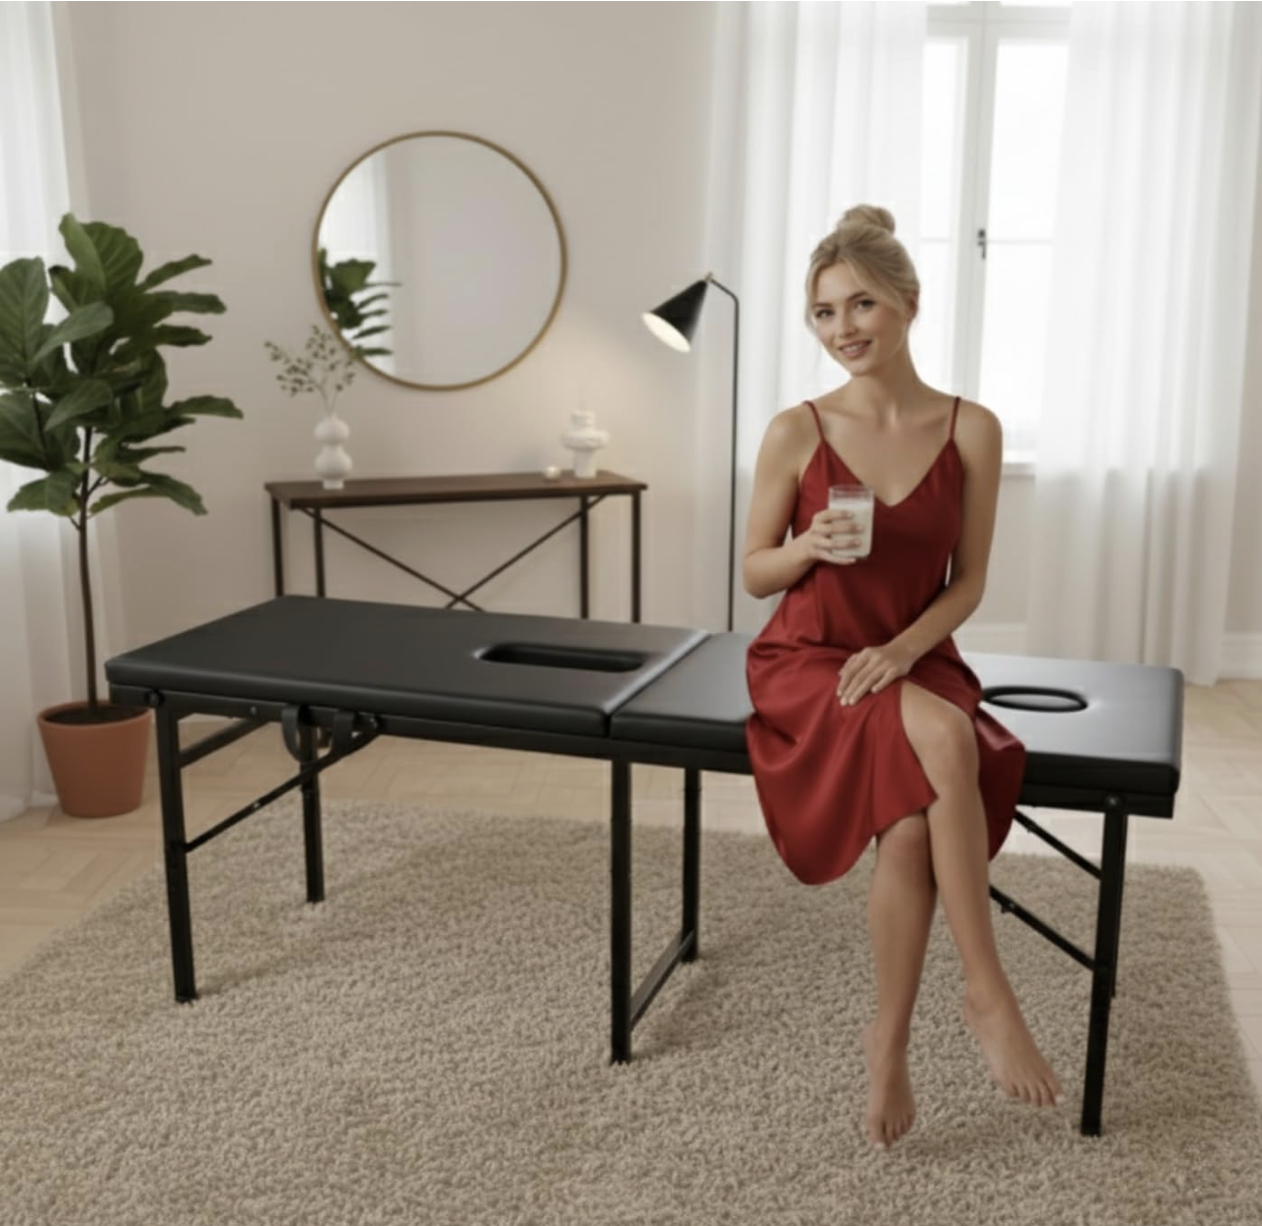
What We Did Instead
We built a better solution — and made it accessible.
Our milking table with a glory hole is:
- Professionally designed & tested
- Built with soft, skin-friendly PU leather
- Has extra-thick padding
- Height optimized so no one gets sore
- Ships discreetly, looks clean, and works straight out of the box
We don’t mass-produce in a factory. Our tables are made in small batches in our overseas workshop — with all testing and design refinement happening in the U.S. by real people who’ve actually used them. (Yes, that’s part of the job.)