
Queening Chair DIY: How to Build One at Home (And When It Stops Making Sense)
Everything you need to know about building a queening chair yourself — materials, steps, common mistakes, and when buying makes more sense.
Skip DIY — View the Queening Chair →In This Guide
People searching for a queening chair DIY are usually motivated by the same thing: curiosity mixed with caution. You know the setup you want. You may have seen it before. But before committing to a purchase, you want to understand whether it’s something you can realistically build yourself.
The short answer is yes, you can build a DIY queening chair. The longer, more honest answer is that it’s harder than it looks, easier to get wrong than expected, and often ends up costing more time and money than planned.
This guide walks through how people typically approach a queening chair DIY, what materials and dimensions actually matter, common starting points like yoga handstand stools, and why many DIY attempts eventually turn into a decision to buy a purpose-built chair instead.
If you already want to see what a finished, purpose-built alternative looks like, this is the chair many people end up choosing after experimenting: view the queening chair on Amazon.
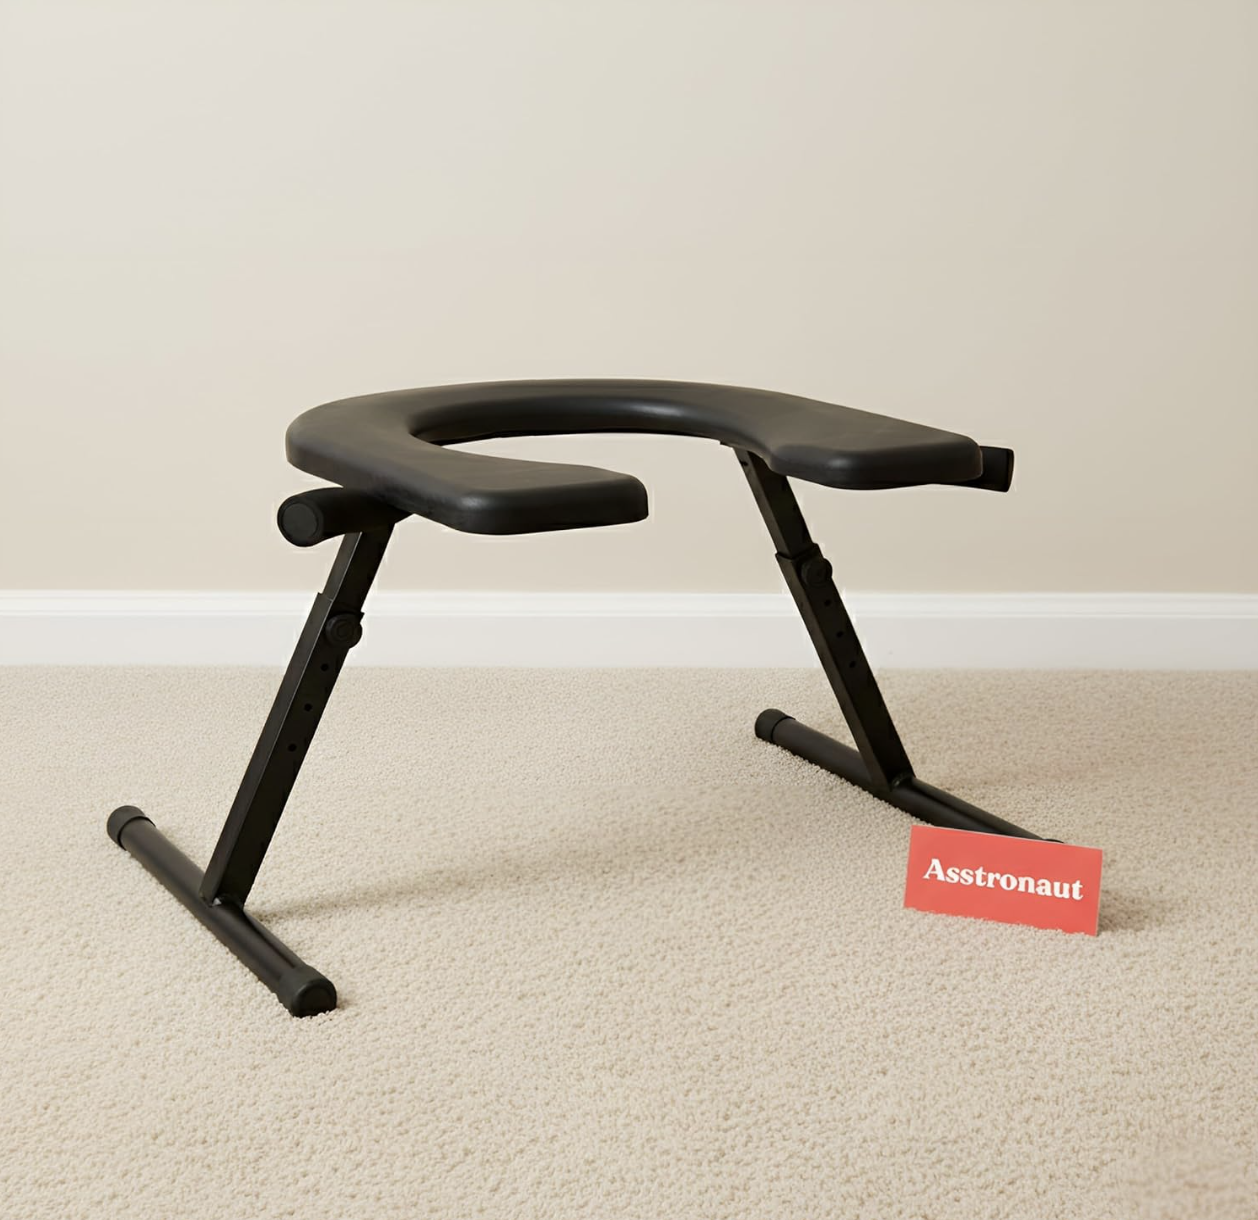
The Asstronaut queening chair by Home in Bold — what many DIY builders end up choosing
What a Queening Chair Actually Needs to Do
Before picking up tools, it’s important to understand what makes a queening chair work from a structural point of view. A functional queening chair needs four things:
Stability. The chair must not wobble or tip when weight shifts. This usually means a wide base and solid joints.
Access. The front of the chair needs to remain open, and any opening in the seat must be positioned correctly. Too far forward or backward and the setup becomes awkward or unusable.
Comfort. The seated person must be able to relax without pressure points, sharp edges, or constant adjustment.
Ergonomics for the person positioned below. Height, angle, and clearance matter more than most people expect.
Most queening chair DIY failures happen because one or more of these elements is underestimated.
Common Starting Point: The Yoga Handstand Stool
One of the most popular starting points for a queening chair DIY is a yoga handstand stool. At first glance, it makes sense — these stools are compact, sturdy, and designed to support body weight. They are also relatively affordable and widely available.
However, they are not designed for seated positioning. The seat opening is usually too small, the angle is wrong, and the height often creates strain rather than comfort.
Many people attempt to modify handstand stools by enlarging the opening, adding padding, or reinforcing joints. While this can work to a degree, it introduces new problems: cutting into the seat weakens the structure, adding padding changes height and angles, and reinforcing joints adds bulk and weight.
A handstand stool can be a starting experiment, but it is rarely a satisfying long-term solution for a queening chair.
Materials You’ll Need for a DIY Queening Chair
If you want to build from scratch, these are the basic materials most DIY queening chair builds require:
Frame: Hardwood or high-quality plywood is essential. Softwoods tend to flex over time. You will need wood screws or bolts rated for load-bearing furniture, wood glue, and corner brackets for reinforcement.
Seat: Thick plywood with a smooth finish works best. Avoid thin boards that can flex or crack. Padding should be high-density foam, not soft upholstery foam — too much softness reduces stability.
Surface: Vinyl or PU leather is strongly recommended. Fabric is difficult to clean and does not hold up well.
Tools: A drill, jigsaw, measuring tools, clamps, and sandpaper.
Step-by-Step Queening Chair DIY Build Process
Design the Base
Aim for a footprint wide enough to prevent tipping. A square or rectangular base with outward-angled legs provides better stability than straight vertical legs.
Determine Seat Height
Most DIY builds fail here. Too high and the positioning below becomes uncomfortable. Too low and access is restricted. A height of 18–22 inches is commonly attempted.
Cut the Seat Opening
Precision matters. The opening should be centered front to back, with enough clearance without removing too much material. Edges must be rounded and sanded thoroughly.
Reinforce the Seat
Once an opening is cut, the surrounding area must be reinforced underneath with cross supports or a frame to prevent flexing.
Add Padding
Glue high-density foam evenly across the seat surface, keeping the opening clean and symmetrical.
Upholster
Wrap the surface tightly with PU leather or vinyl, stapling underneath. Ensure no wrinkles or loose edges.
Test Stability
Before actual use, test the chair by shifting weight in different directions. Any movement or creaking should be addressed immediately.

The purpose-built alternative eliminates all the guesswork of a DIY queening chair
Common DIY Queening Chair Mistakes to Avoid
Before you start building, be aware of the pitfalls that catch most DIY builders:
Underestimating Load
Chairs experience dynamic forces, not just static weight. Build for movement, not just sitting.
Poor Opening Placement
Even a few centimeters off can make the entire setup uncomfortable or unusable.
Over-Padding
More padding feels better at first but often reduces control and stability over time.
Ignoring Storage
A bulky chair that cannot be moved or stored easily becomes impractical fast.
Why DIY Often Becomes More Expensive Than Expected
By the time materials, tools, and time are factored in, many DIY queening chair builds exceed their original budget. Failed attempts add up. Incorrect cuts cannot be undone. Reinforcements add weight and complexity. Upholstery mistakes require rework.
This is often the point where people start comparing their DIY costs to ready-made options — and realize a purpose-built queening chair would have been cheaper from the start.
When Buying a Purpose-Built Queening Chair Makes More Sense
A purpose-built queening chair is designed from the start to solve the problems DIY builders struggle with. It offers correct opening placement, stable geometry, proper height, and tested load-bearing construction. It also folds or stores compactly, which most DIY builds do not.
For the price of a failed experiment or two, many people decide it makes more sense to choose a professionally designed chair that works immediately.
This is where the Home in Bold queening chair stands out. It is compact, stable, easy to clean, and designed specifically for this use rather than adapted after the fact.
Ready to Skip the DIY?
The Asstronaut queening chair is purpose-built, foldable, and ready to use in minutes.
View the Queening Chair on Amazon →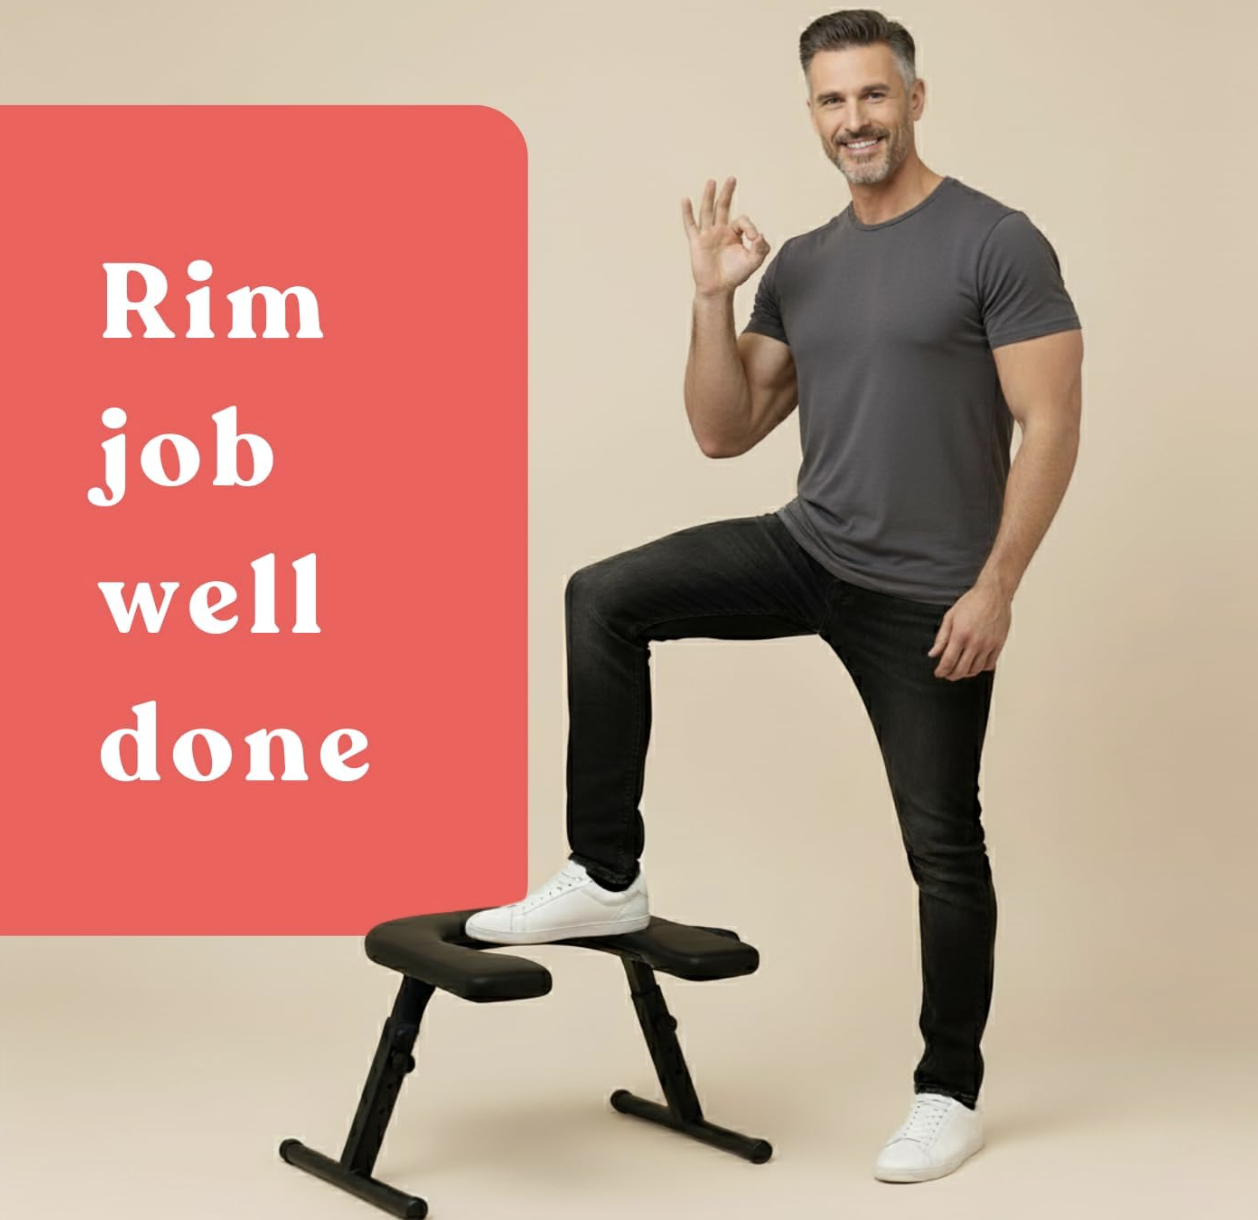
Final Thoughts on Queening Chair DIY
Building a queening chair DIY can be a learning experience. It helps you understand what matters in design, ergonomics, and stability. For some, the process itself is the goal.
For others, it becomes clear that a tested, purpose-built solution saves time, money, and frustration. Knowing both paths allows you to choose deliberately rather than by trial and error.
If you want a deeper understanding of how positioning furniture works more broadly, check out our guide on what a milking table is — it explains many of the same design principles.
Queening Chair DIY — FAQ
Common questions about building or buying a queening chair
Can you really build a queening chair DIY at home?
Yes, it is possible, but it requires careful planning, proper materials, and attention to ergonomics and stability. Most builders need woodworking experience for a functional result.
Is a yoga handstand stool good for a queening chair DIY?
It can be a starting point, but it is not designed for seated positioning and usually requires significant modification that weakens the original structure.
What materials are best for a queening chair DIY?
Hardwood or high-quality plywood for the frame, high-density foam for padding, and PU leather or vinyl for the surface are commonly used for durability and comfort.
Why do many queening chair DIY projects fail?
Most failures come from poor stability, incorrect opening placement, underestimating dynamic load forces, or over-padding that reduces control.
Is buying a queening chair better than DIY?
For many people, yes. A purpose-built queening chair often costs less than repeated DIY attempts and performs better right out of the box with proper ergonomics and stability.
Can a queening chair be stored easily?
Purpose-built chairs like the Asstronaut are designed to be compact and foldable. DIY builds often struggle with storage due to bulk and weight.
Still Thinking About DIY?
Compare the time, cost, and effort of building vs. buying — then decide with confidence.
View the Queening Chair on Amazon →